
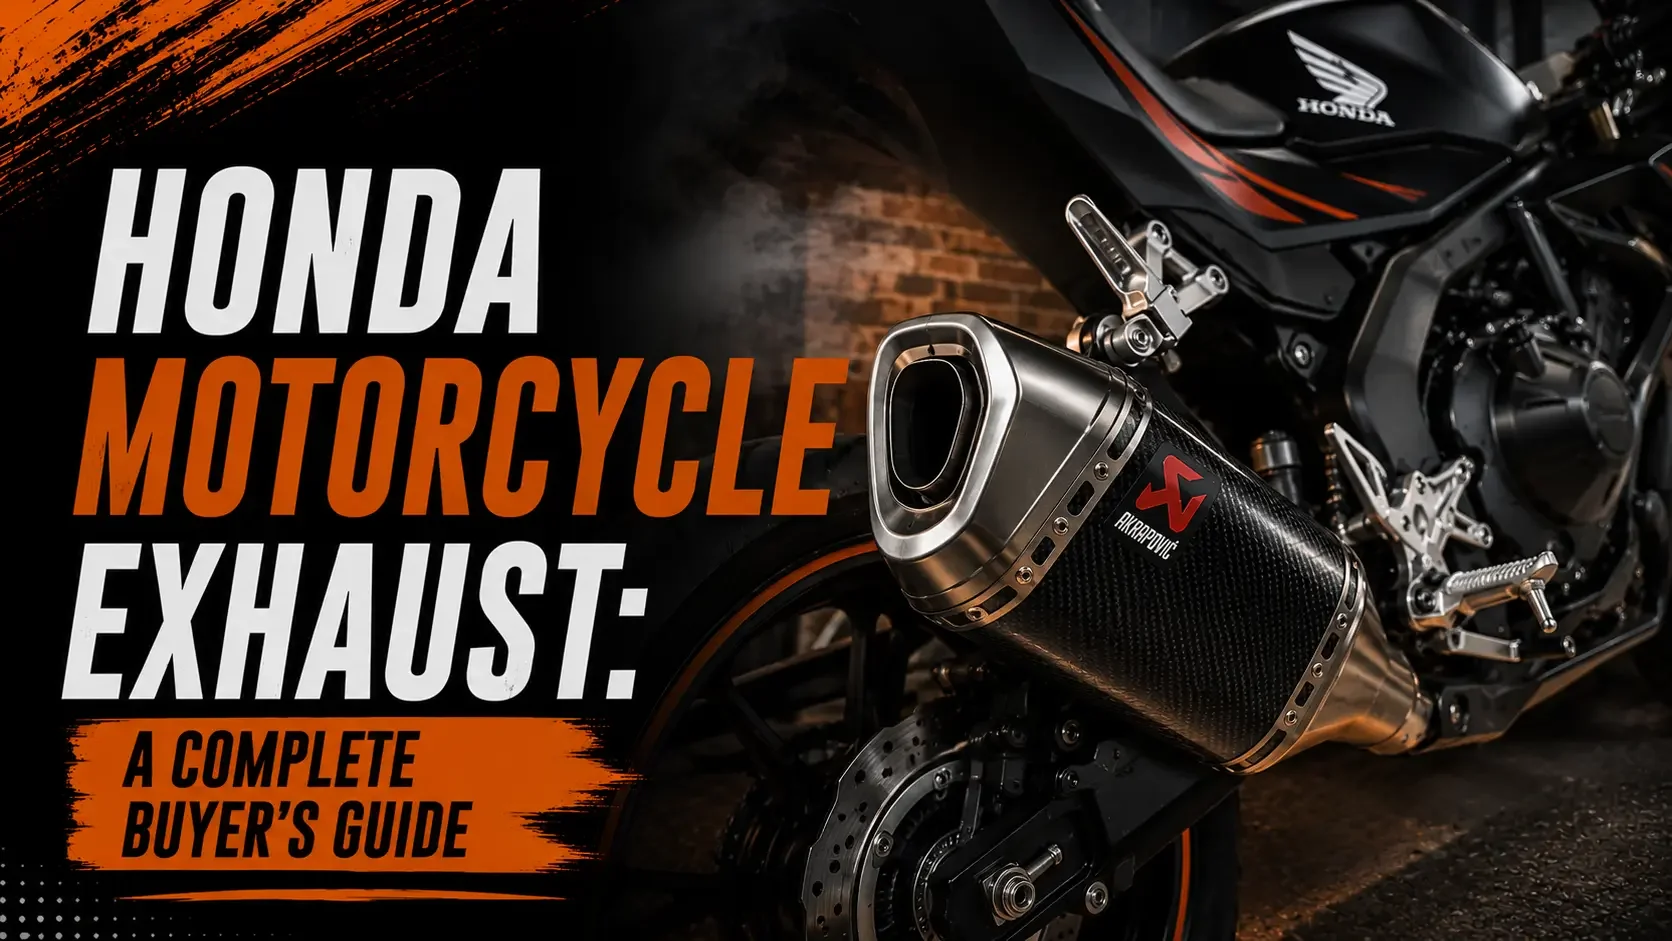
Honda Motorcycle Exhaust: A Complete Buyer's Guide
Buying a Honda motorcycle exhaust is easier than ever. Choosing the right one is not.
Hundreds of exhaust systems promise deeper sound, better performance, and lighter weight, but those claims rarely explain whether the exhaust is actually suitable for your motorcycle. A system that works perfectly on a Honda CBR may not deliver the same results on a CB, Rebel, Africa Twin, or Grom.
The right choice depends on far more than appearance or price. Your bike's engine configuration, intended riding style, emissions equipment, and tuning requirements all influence how an exhaust performs after installation. Ignoring these factors can leave you with an expensive upgrade that sounds impressive but offers little real-world benefit.
This buyer's guide breaks down everything you need to evaluate before purchasing a Honda exhaust system, including:
Selecting the correct exhaust for your motorcycle's model and year.
Understanding whether a slip-on or full system best suits your goals.
Comparing stainless steel, titanium, and carbon fibre construction.
Knowing when ECU tuning is necessary and how it affects performance.
Factoring in installation costs, legal requirements, and long-term value.
Whether your goal is a more aggressive exhaust note, reduced weight, improved throttle response, or a complete performance upgrade, this guide will help you understand what truly matters so you can invest in a Honda motorcycle exhaust with confidence.
What Should You Check Before Buying a Honda Motorcycle Exhaust?
Confirm four things before you pay. That the system is listed for your exact model, year and variant in writing. That the material grade and wall thickness are stated as numbers. That a sound recording exists on the same model rather than a similar bike. And that you have budgeted for a fuel tune alongside the purchase. Those four checks prevent most returns. Everything else on this list refines the choice rather than rescuing it, and skipping any one of them is what leads riders to buy a second system within a year.
Why Honda Fits the Exhaust It Does
The system fitted at the factory is engineered around noise regulations, emissions compliance and production cost. Honda meets all three on every bike it sells, and doing so has consequences.
It means a large catalytic converter in the mid pipe, heavy internal baffling in the silencer, and thick-walled steel throughout. The assembly is heavy, and much of that weight sits low and to one side.
None of that is a fault. It is a set of choices made for reasons unrelated to how the bike feels to ride, and unwinding some of them is exactly what an upgrade does.
Worth knowing before you shop: you are not buying horsepower off a shelf. You are removing a designed-in restriction, then paying separately for the calibration that lets the engine use the room you created. Two riders can fit the same Honda motorcycle exhaust and describe completely different bikes, because one tuned it and one did not.
Eight Checks Before You Buy a Honda Motorcycle Exhaust
1. Confirm the Exact Model, Year and Variant
This is the check that prevents the most returns, and the one riders skip most often.
Honda ranges are wide and their systems do not transfer. A CB, a CBR and an Africa Twin share a badge and almost nothing else. Even within one model name, a mid-generation update can move mounting points, change silencer diameter or relocate the oxygen sensor bung.
Variant matters too: ABS and non-ABS models sometimes route differently, and market-specific versions vary. Ask the seller to confirm your exact year, model and variant in writing, or check against a model fitment guide before ordering. A listing that says fits most Honda models is not a fitment statement.
This is also why a Honda motorcycle exhaust listed for a European market bike can be wrong for the same model sold elsewhere, even in the same year. Emissions specification differs by region, and so does the hardware around it.
2. Decide Between Slip-On and Full System
A Honda slip on exhaust replaces the silencer only and clamps onto the factory mid pipe. A full system replaces everything from the headers back.
Slip-ons are the accessible route: modest cost, an hour or two of work, and fully reversible, which makes them a low-risk way to learn what tone you want. Most of the Honda slip-on range covers the common models.
Full systems open the whole gas path and save far more weight, particularly on models with a large factory converter. They also demand tuning rather than merely benefiting from it, so if you are looking at full system options, budget the calibration at the same time.
One caution on cost comparisons. A slip-on plus a fuel module often lands close to a bare full system, so compare complete setups rather than headline prices.
3. Check the Material and Construction
Ask for the grade as a number rather than a description like premium stainless steel. Material predicts how the system looks and performs in three years better than the brand name does.
Three options dominate. 304 stainless is the durable all-rounder. titanium is significantly lighter and develops the blued finish many riders want, at a much higher price. Carbon-wrapped silencers are usually a stainless or titanium core with a cosmetic sleeve, so ask what is underneath.
Wall thickness and bend method matter alongside grade. Mandrel bending keeps internal diameter constant through the curve, while crush bending pinches the radius and restricts flow at every bend, however good the Honda exhaust pipe looks in photographs.
Ask for close photographs of the welds and the inside of the outlet before ordering. Any seller confident in their supplier sends them without hesitation, and hesitation is itself an answer about what you would be buying.
4. Understand How the Sound Is Engineered
Tone comes from geometry. Baffle design, core diameter, silencer length and volume, and header routing set the character. Two silencers with the same internals sound close to identical whatever the badge says.
Engine layout matters more here than on most brands. An inline four produces a high, hard note that gets louder and sharper as restriction is removed. A parallel twin or V-twin produces a deeper pulse that gains character rather than pitch. The same silencer on the two sounds like two different products.
Three questions verify sound before you pay:
Which baffle or db killer is fitted as standard, and is it removable?
Does removing it change the legal status of the system?
Is there a recording of this exact silencer on the same model and engine?
Live with the answer. A note that thrills for ten minutes can wear thin over a two-hour ride, and it is the long rides that decide whether you keep a Honda bike silencer or sell it on.
Mounting and hardware are worth checking at the same time. A Honda motorcycle muffler that arrives without the correct bracket, springs or gaskets turns an afternoon job into a two-week wait, and those parts are rarely photographed on the listing.
5. Plan the Fuel Tune
Changing exhaust flow shifts the air-fuel ratio the engine was calibrated around. On modern injected Hondas that means a fuel module or a full remap. On older carburetted models it means rejetting.
Skip it and the engine runs lean. Lean running costs throttle response, raises running temperatures and can cause damage over sustained use. A Honda performance exhaust fitted without tuning frequently feels flat exactly where you ride most.
When a seller quotes horsepower, ask whether the figure was recorded on a dynamometer before or after tuning, and on which model year. A chart with no stated tune is not evidence of anything.
There is a simple test after fitting and tuning. Hold a steady throttle in third gear from around 4,000 rpm. If the bike surges or hunts, the calibration is unfinished, whatever the exhaust is doing.
6. Check What Happens to the Catalytic Converter
On most modern Honda models the catalytic converter sits in the mid pipe rather than in the silencer. That single fact decides a lot.
A slip-on usually leaves the converter in place, so the bike remains emissions compliant. Many full systems delete it, which is where the larger weight saving and flow gain come from, and also where the legal problems start.
For a road bike, choose a system that retains the converter. Removing it typically triggers fault codes, causes inspection failures in regions that test, and makes resale harder. The gain is real but small, and the consequences are neither.
Resale is worth a thought too. Keep the original system boxed. Some buyers want it, some regions require it, and a complete Honda motorcycle exhaust in the corner of the garage costs nothing but shelf space.
7. Confirm It Is Legal Where You Ride
Replacement motorcycle exhausts sold in the United States are federally regulated. The rules sit in 40 CFR Part 205, Subpart E, covering labelling, noise standards and tampering.
Every replacement system distributed in the US must carry a permanent compliance label identifying the manufacturer and the standard it meets. No label is a warning about the seller.
Competition-only systems must state that they do not conform to EPA noise emission standards and that road use constitutes tampering.
After the federal acoustical assurance period, state noise limits govern, and they vary. Many systems are marked as not legal for use in California.
None of this makes an aftermarket Honda exhaust illegal. It makes uninformed buying expensive, and the check takes five minutes.
8. Budget the Whole Job
The product page price is rarely the price of the change. Budget for the system, the fuel module or remap, fitting if you are not doing it yourself, new gaskets and exhaust springs, and sometimes a new oxygen sensor bung or blanking plug.
Riders who budget only for the silencer are the ones who run it untuned, dislike the result and buy again within the year. That is the most expensive route of all.
Insurance and inspection are worth thinking about as well. A compliant, labelled system keeps those conversations short, and an unlabelled one invites questions you would rather not answer at the roadside.
What an Exhaust Upgrade Will Not Fix
It will not change the fundamental character of the engine. A commuter single does not become a sports bike because the note improved.
It will not add power on its own, and fitted without tuning it often feels worse in the mid-range than the system it replaced.
It will not compensate for deferred servicing. Valve clearances, air filter condition and chain adjustment all affect how the bike feels far more than most riders expect, and a new pipe simply makes existing faults easier to hear.
And it will not stay as delivered forever. Baffles and packing degrade with heat and miles, so a Honda bike exhaust that measured acceptably when new can drift louder over several seasons of hard use.
Final Thoughts
Buy on verified specification, not on a video.
Confirm fitment for your exact model, year and variant. Get the material grade and wall thickness as numbers. Hear the system on your engine layout rather than a similar one. Budget the tune alongside the pipe. Those four decisions account for almost every satisfied purchase and almost every returned one.
The riders happiest with their exhaust are rarely the ones who spent the most. They are the ones who matched the system to the bike they own and the way they ride, then paid for the tune that made it work.
Write down your model, year and variant before you open another product page. That single line turns a browsing session into a buying decision.
Ready to Upgrade Your Honda? Explore Kinetic Motorcycles
Kinetic Motorcycles offers a curated range of Honda exhaust systems chosen for build quality, verified fitment and honest sound, with guidance available before you order rather than after.
Visit www.kineticmotorcycles.com to explore your options or ask for a fitment check on your exact model.
Recommended Honda Exhaust Parts from Kinetic Motorcycles
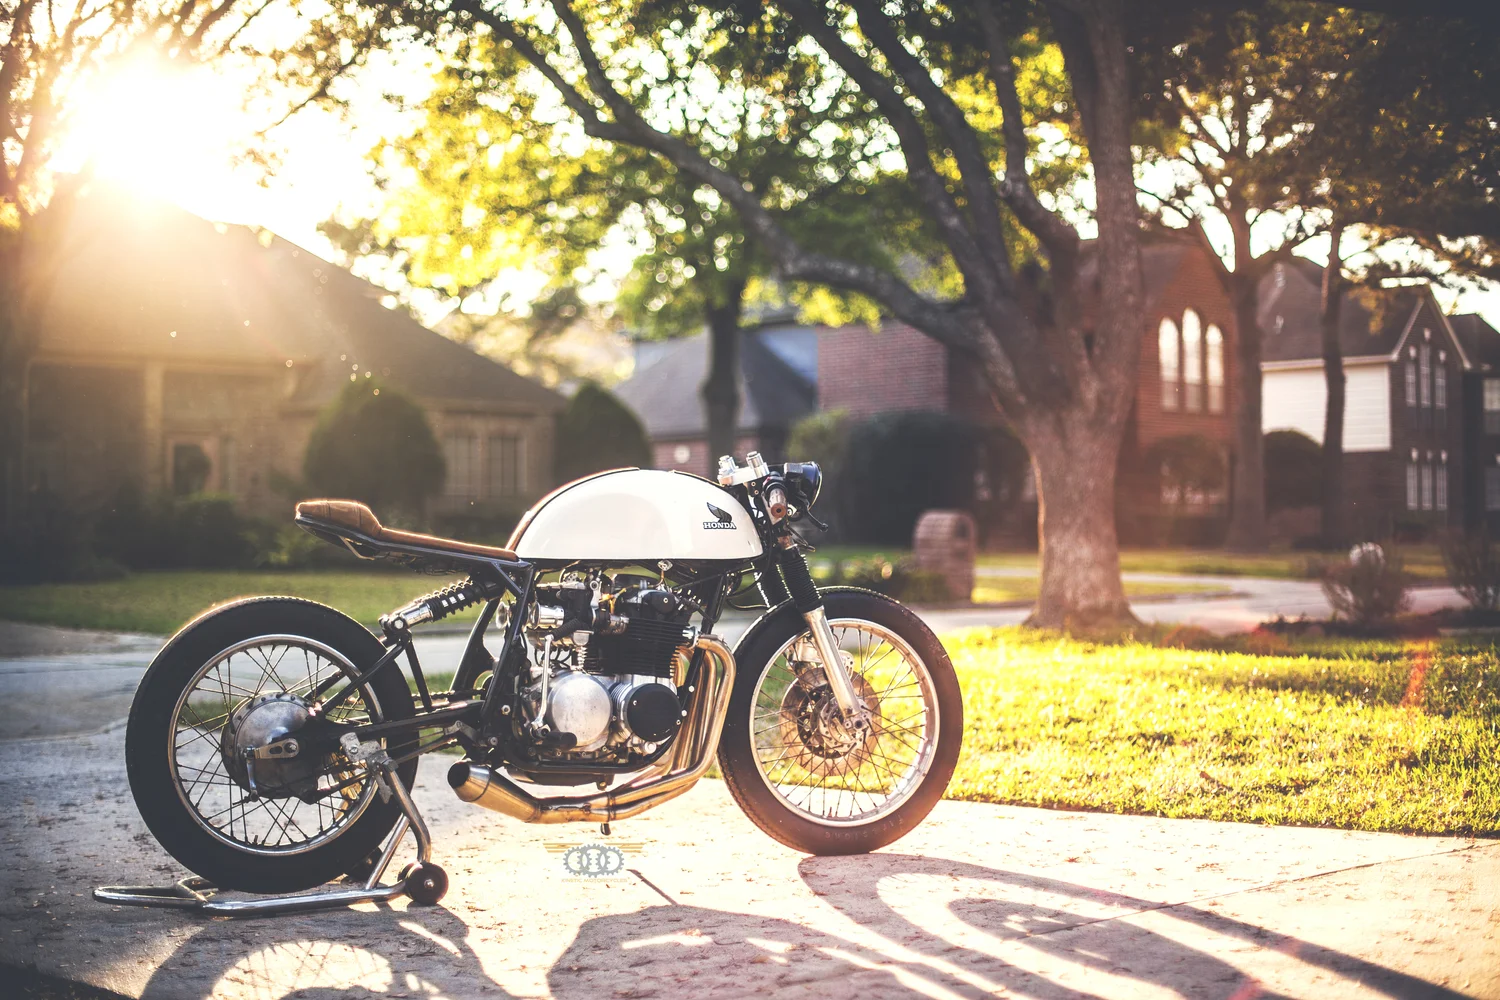
Kinetic builds for the air-cooled Honda CB range rather than the whole Honda line, so the list below pairs the CB system with universal parts that suit a CB build. Everything is handmade in Houston from 304 stainless, fully TIG welded in house, and made to order.
1. CB 421 Exhaust System, 4 into 1 for Honda CB - $1250.00
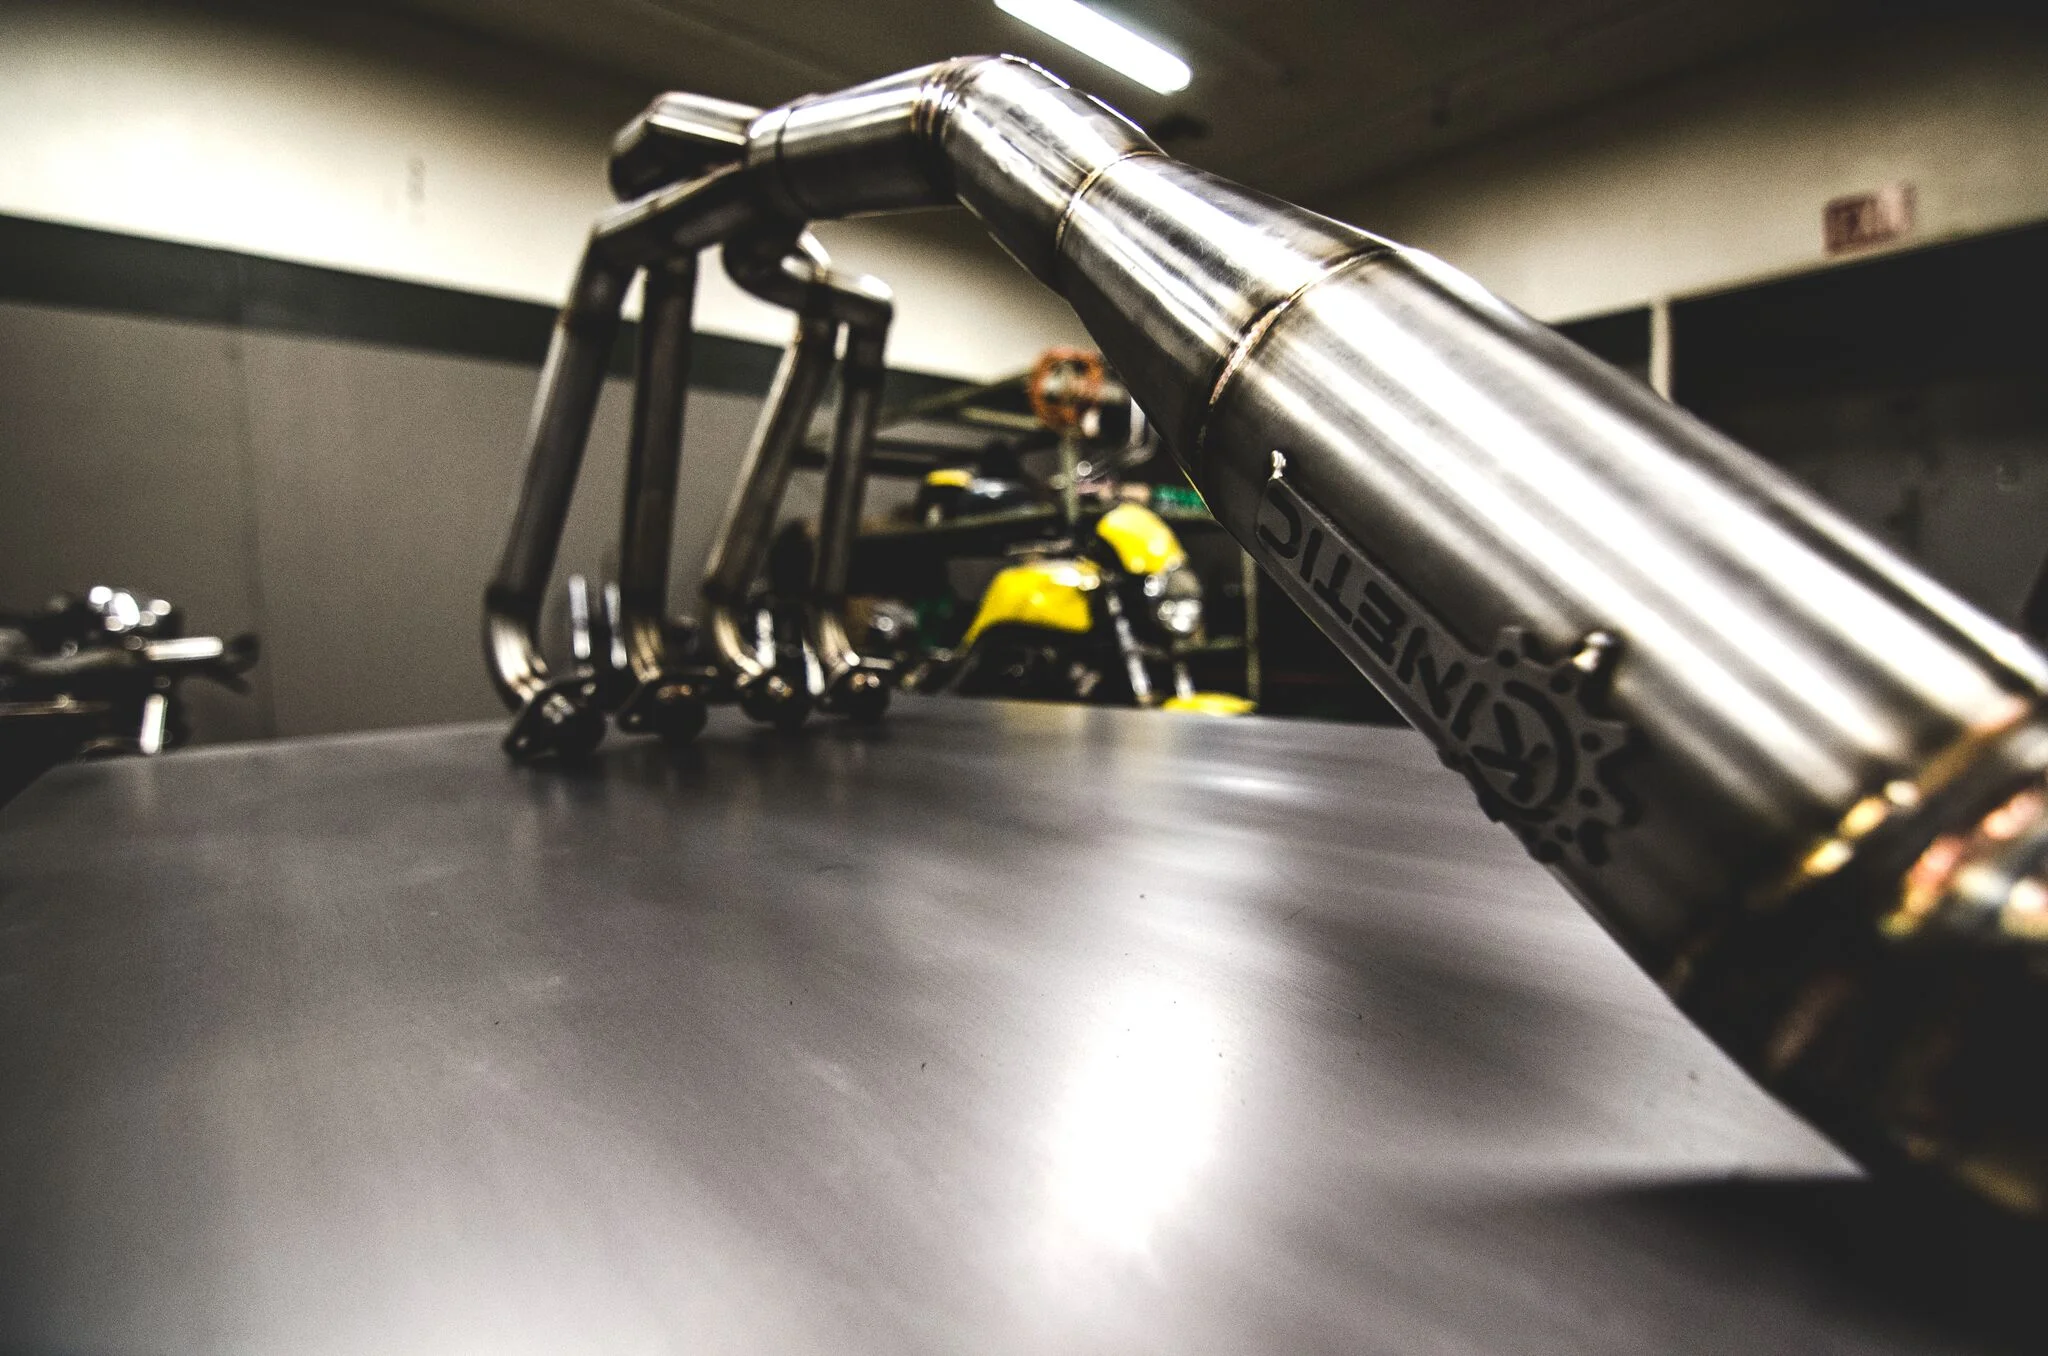
The flagship Honda motorcycle exhaust in the range. A 100 percent stainless 4 into 1 built piece by piece in house, from the integrated flanges through the collector to the muffler. Retro styling with modern reliability, made to order in roughly 2 to 4 weeks.
2. Stubby Fender - $75.00
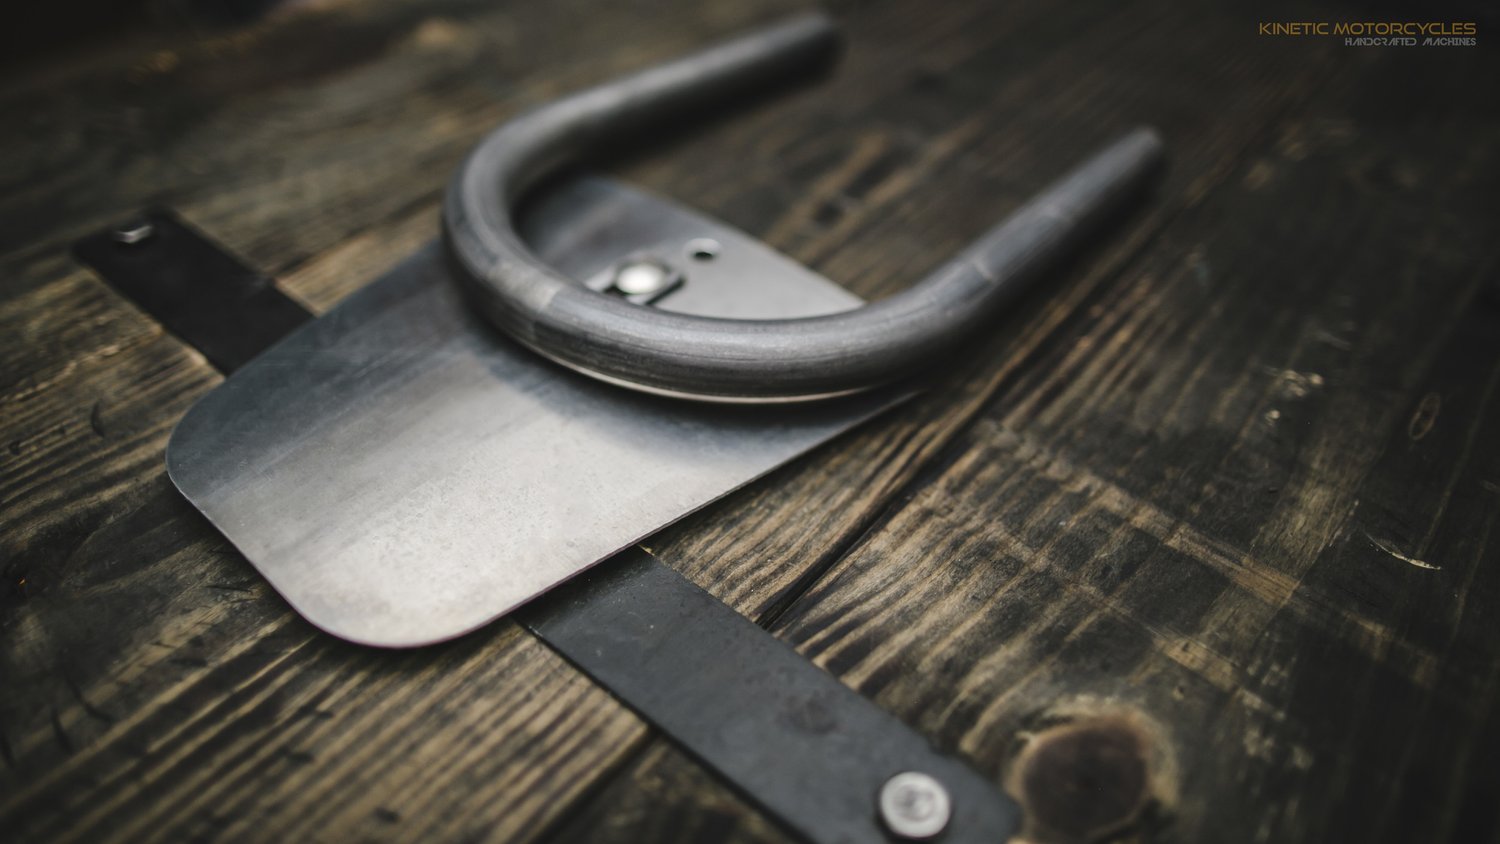
Not an exhaust, but the upgrade most often fitted alongside one on a CB build. Worth planning at the same time, because chassis work and exhaust routing both compete for space at the rear of the bike. Doing them together avoids paying twice for the same disassembly.
3. Extended Rear Tail Hoop - $80.00
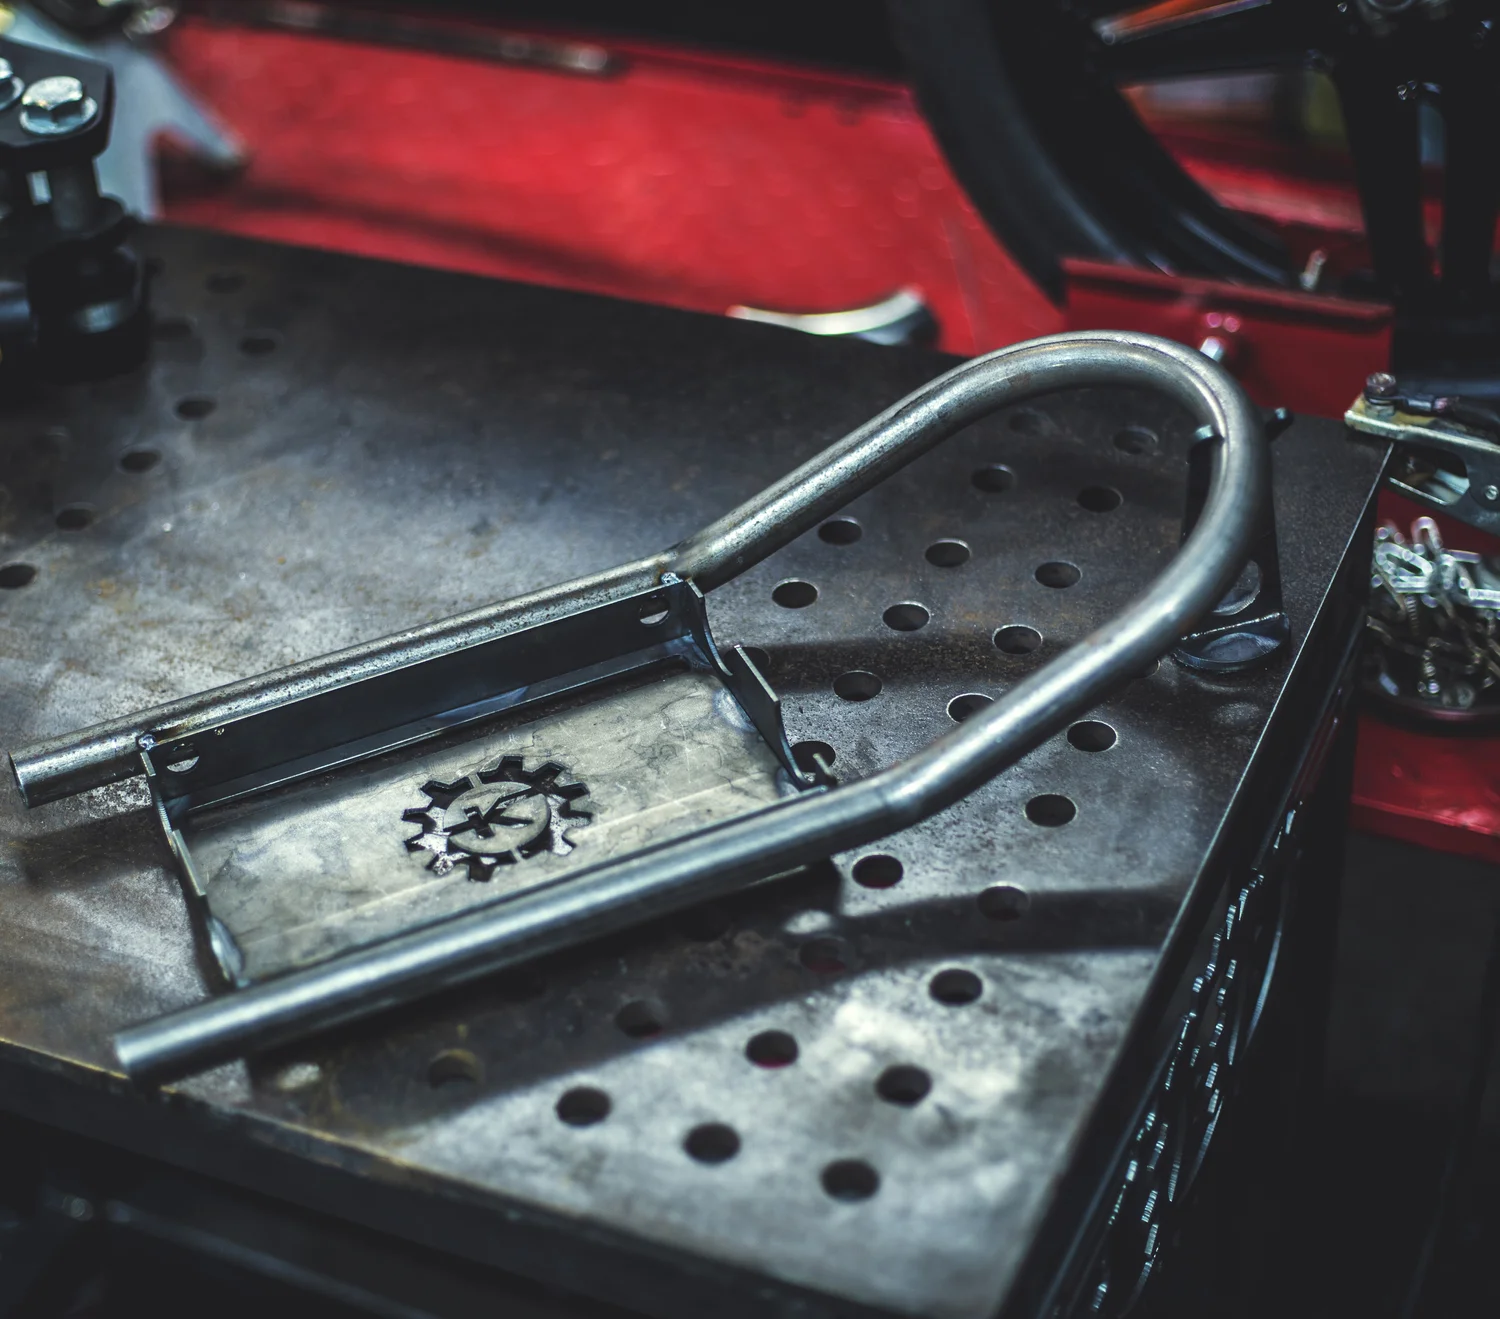
Reshapes the tail with more length than the standard hoop, which suits a longer seat or a solo cowl. Fit it in the same session as the exhaust, since a new 4 into 1 changes how the rear of the bike reads from the side.
4. Rear Tail Hoop - $50.00

Cuts the visual weight at the back so the new exhaust line is the thing your eye follows. A small part with an outsized effect on the silhouette, and one of the cheapest ways to finish a CB build properly.
5. Suspension Conversion Kit - $650.00
The standard-length hoop for a tighter, more compact tail. Choose this over the extended version if you are keeping the stock seat. The lowest-cost item on the list and the easiest thing to add to an exhaust order rather than paying shipping twice.
Frequently Asked Questions
-
Yes, but only with proper fuel tuning. An aftermarket Honda exhaust improves airflow, while a fuel tune optimizes the air-fuel ratio. Full exhaust systems generally offer greater performance potential than slip-ons, improving throttle response and mid-range power rather than delivering dramatic peak horsepower gains.
-
Yes, if your goal is improved sound, appearance, and lower cost. Slip-on exhausts install easily and usually retain the catalytic converter. Full systems provide greater weight savings and performance potential but require additional tuning and a larger overall investment.
-
In most cases, yes. A new exhaust changes engine airflow, making the factory calibration less effective. A fuel remap or controller restores the correct air-fuel ratio, improving throttle response, engine reliability, and overall performance, especially with a full exhaust system.
-
Some are street legal, while others are designed for competition use only. Always check whether the exhaust complies with local noise and emissions regulations. Systems that remove the catalytic converter may not be legal for public-road use in many regions.
-
304 stainless steel is the best all-around choice for durability, corrosion resistance, and value. Titanium offers lower weight and premium appearance but costs more, while carbon fiber is typically used for silencer sleeves rather than complete exhaust construction.
-
Loudness depends on the exhaust's internal design, baffle, and your motorcycle's engine configuration. Many aftermarket systems include removable dB killers for adjustable sound levels. Listening to recordings from your exact Honda model helps set realistic expectations before purchasing.
-
Removing the catalytic converter offers only modest performance gains for most riders. It can create emissions compliance issues, trigger fault codes, and require additional tuning. A quality fuel tune usually provides better real-world improvements while retaining the catalytic converter.
-
Usually not. Exhaust systems are designed for specific Honda models, years, and variants because engine layouts, mounting points, and sensor locations differ. Always verify fitment before purchasing to ensure proper installation and reliable performance.