
Keep Your Custom Ride Roaring: The Ultimate DIY Maintenance Checklist
Listen up, you magnificent wizards of bolt-ons and masters of modification! You didn't just buy a motorcycle; you sculpted a beast, a one-of-a-kind symphony of steel, chrome, and pure riding attitude. That machine is an extension of your soul, a testament to your vision and countless hours in the garage (maybe fueled by a few too many late-night coffees, right?). But let's face it, even the most badass custom creation needs a little love and attention to keep that heart beating strong and those pipes singing their glorious tune.
Think of it this way: you wouldn't neglect a finely tuned instrument, would you? Your custom motorcycle is no different. Regular maintenance isn't just about keeping it running; it's about preserving your investment, ensuring your safety on the road, and maintaining the pride that comes with owning a truly unique ride.
Now, you might be thinking, "Maintenance? Sounds like a pain in the ass." But hold your horses! A lot of essential upkeep can be tackled right in your own garage with some basic tools and a little know-how. We're not talking about major overhauls here (unless you're into that, you glorious wrench wizard!). We're talking about the regular checks and tasks that'll keep your custom machine purring like a kitten one minute and roaring like a lion the next.
This ain't your grandpa's generic motorcycle maintenance guide. We're diving deep into the specifics of caring for custom motorcycles. We'll cover everything from the lifeblood of your engine to keeping that killer paint job looking slick. Consider this your ultimate DIY maintenance checklist, your roadmap to keeping your custom dream machine roaring down the asphalt for years to come. So grab your trusty tools (maybe that set you got after reading our guide on essential motorcycle tools), and let's get wrenching!
The Foundation: Regular Fluid Checks and Changes

Alright, let's start with the absolute basics – the lifeblood of your custom ride. Just like you need hydration to keep going, your motorcycle relies on various fluids to function properly. Ignoring these is like asking for trouble down the line, potentially leading to costly repairs that could've been easily avoided.
Oil is King: Engine Oil and Filter Maintenance
Listen, oil is the lifeblood of your engine. It lubricates all those moving parts, reduces friction, dissipates heat, and helps keep things clean. Especially if you've beefed up your engine with performance upgrades (maybe even some go-fast goodies from Kinetic Motorcycles), regular oil changes are non-negotiable. Think of it as giving your engine a fresh breath of life.
The type and viscosity of oil you use matter. Check your owner's manual (yes, even for a custom build, the base engine's manual is a good starting point) for recommendations. Riding in hot climates or pushing your engine hard? You might need a higher viscosity oil. For those running high-performance engines, consider a high-quality synthetic oil. It offers superior protection against heat and wear, which can be crucial for maintaining those performance enhancements.
Pro Tip: Don't just change the oil; always replace the oil filter too! A fresh filter ensures that the new oil stays clean and free of contaminants. Keep a log of your oil changes – date, mileage, and type of oil used. This helps you stay on schedule.
Keeping Cool: Coolant Level and Condition
Overheating is the enemy of any engine, especially during those summer rides or if your custom build involves modifications that might affect airflow. Your coolant plays a vital role in regulating engine temperature. Regularly checking the coolant level in the reservoir is a quick and easy task. Make sure it's between the "min" and "max" lines.
Also, take a peek at the condition of your coolant. Is it clean and brightly colored, or does it look murky or rusty? Over time, coolant can break down and lose its effectiveness. Leaks are another thing to watch out for – check around hoses and connections for any signs of drips or residue.
When should you flush and replace your coolant? Check your owner's manual, but generally, it's recommended every two years or a certain number of miles. This helps remove any build-up and ensures optimal cooling performance, especially important if you've got a high-compression engine or ride in hot conditions.
Keeping the Shiny Side Up: Caring for Your Custom Aesthetics

Let's face it, that custom paint job and all that polished metal didn't come cheap. Protecting that investment and keeping your ride looking like it just rolled out of the custom shop takes a little effort, but the results are totally worth it.
The Gleam Machine: Washing Your Custom Motorcycle Like a Pro
Washing your custom motorcycle ain't the same as hitting it with a garden hose and calling it a day. You gotta be gentle and use the right techniques to avoid damaging that precious paint or scratching those shiny bits.
Use the Right Soap: Opt for motorcycle-specific wash soap. Car wash soaps can sometimes be too harsh and strip away wax.
Two-Bucket Method: Fill one bucket with soapy water and the other with clean rinse water. Use separate wash mitts for each bucket to avoid transferring dirt back onto your motorcycle.
Gentle Washing: Use a soft microfiber wash mitt. Avoid abrasive sponges or brushes that can scratch the paint. Wash in sections, starting from the top and working your way down.
Rinse Thoroughly: Make sure to rinse all the soap off completely with clean water.
Dry Carefully: Use soft microfiber towels to dry your motorcycle. Avoid air drying, as it can leave water spots, especially on custom paint and chrome.
Pro Tip: Before washing, consider using a pre-wash spray to loosen up stubborn dirt and grime. And after drying, a quick detailer spray can add an extra layer of shine and protection.
Protecting the Canvas: Waxing and Detailing Custom Paint
Think of waxing your custom paint as putting on a protective layer of armor. It shields it from UV rays, road grime, and minor scratches, while also giving it that deep, glossy shine.
Choose the Right Wax: There are different types of waxes and sealants available. For custom paint, especially with unique finishes like matte or metallic, choose a product specifically designed for those surfaces. Harsh waxes can damage certain custom finishes.
Apply Evenly: Follow the manufacturer's instructions for applying the wax. Use a clean applicator pad and apply in even, overlapping strokes.
Buff to a Shine: Once the wax has hazed, use a clean, soft microfiber towel to buff it to a brilliant shine.
Detailing for the Win: For those in-between washes, a good quality detailing spray can remove light dust and fingerprints and enhance the shine without the full waxing process.
Pro Tip: Clay bar treatments can remove embedded contaminants from your paint that washing alone won't get. This will make your paint smoother and your wax more effective. If you've got custom decals or wraps, be extra gentle when washing and waxing those areas.
Chrome and Polish: Maintaining Those Shiny Bits
Chrome is a classic element of many custom motorcycles, but it requires regular attention to keep it gleaming and prevent rust.
Clean Regularly: Wipe down chrome surfaces with a soft cloth after each ride to remove dust and fingerprints.
Use Chrome Polish: Invest in a good quality chrome polish specifically designed for motorcycles. Apply it with a soft cloth and buff to a shine. This helps remove light oxidation and keeps the chrome looking its best.
Protect Against Rust: In humid climates or if you ride in the rain, consider using a chrome protectant spray to help prevent rust.
Leather Love: Caring for Custom Seats and Accessories
If your custom ride features a luxurious leather seat, saddlebags, or other accessories, proper care is essential to prevent cracking, fading, and premature wear.
Clean Gently: Use a leather cleaner specifically designed for automotive or motorcycle leather. Avoid harsh chemicals or abrasive cleaners.
Condition Regularly: Leather conditioner helps keep the leather supple and prevents it from drying out and cracking. Apply a good quality conditioner every few months, or more often if you ride in harsh conditions.
Protect from the Elements: Avoid leaving your leather exposed to direct sunlight or rain for extended periods. A motorcycle cover is your best friend here.
Beyond Fluids: Essential Mechanical Checks and Maintenance
While keeping your ride looking sharp is important, ensuring it runs reliably and safely is paramount. This section focuses on the mechanical bits that need your regular attention, especially considering the unique components often found on custom motorcycles.
Rolling Strong: Tire Inspection and Maintenance
Your tires are the only point of contact between you and the asphalt. Keeping them in good condition is non-negotiable for safety and optimal handling, especially on a custom machine that might handle differently than a stock model.
Check Tire Pressure Regularly: Invest in a good quality tire pressure gauge and check your tire pressure before every ride. Refer to your motorcycle's owner's manual or the sticker on the swingarm for the recommended pressure. Improper tire pressure can lead to poor handling, uneven wear, and even blowouts.
Inspect Tire Tread: Regularly examine your tire tread for wear. Most tires have wear indicators built into the tread grooves. If the tread is level with these indicators, it's time for new tires. Uneven wear can indicate issues with tire pressure, suspension, or wheel alignment.
Look for Damage: Inspect your tires for cuts, bulges, cracks, or embedded objects (like nails or glass). Even small damage can lead to a flat.
Wheel Balance and Alignment: If you notice any unusual vibrations or handling issues, your wheels might need balancing or alignment. This is especially important if you've changed wheels or suspension components as part of your customization.
Stopping Power: Brake System Inspection
Your brakes are arguably the most critical safety system on your motorcycle. Regular inspection and maintenance are crucial, especially if you've upgraded to aftermarket brake calipers, rotors, or lines.
Check Brake Lever and Pedal Feel: Ensure your brake lever and pedal feel firm and responsive. A spongy or soft feel can indicate air in the lines or low brake fluid.
Inspect Brake Pads and Rotors: Regularly check the thickness of your brake pads. If they're getting thin, it's time for replacement. Examine your brake rotors for any signs of damage, warping, or excessive wear.
Check Brake Lines and Fittings: Inspect your brake lines for any leaks, cracks, or swelling. Ensure all fittings are tight and secure. If you've installed braided stainless steel brake lines (a common upgrade for improved braking performance), check for any fraying or damage.
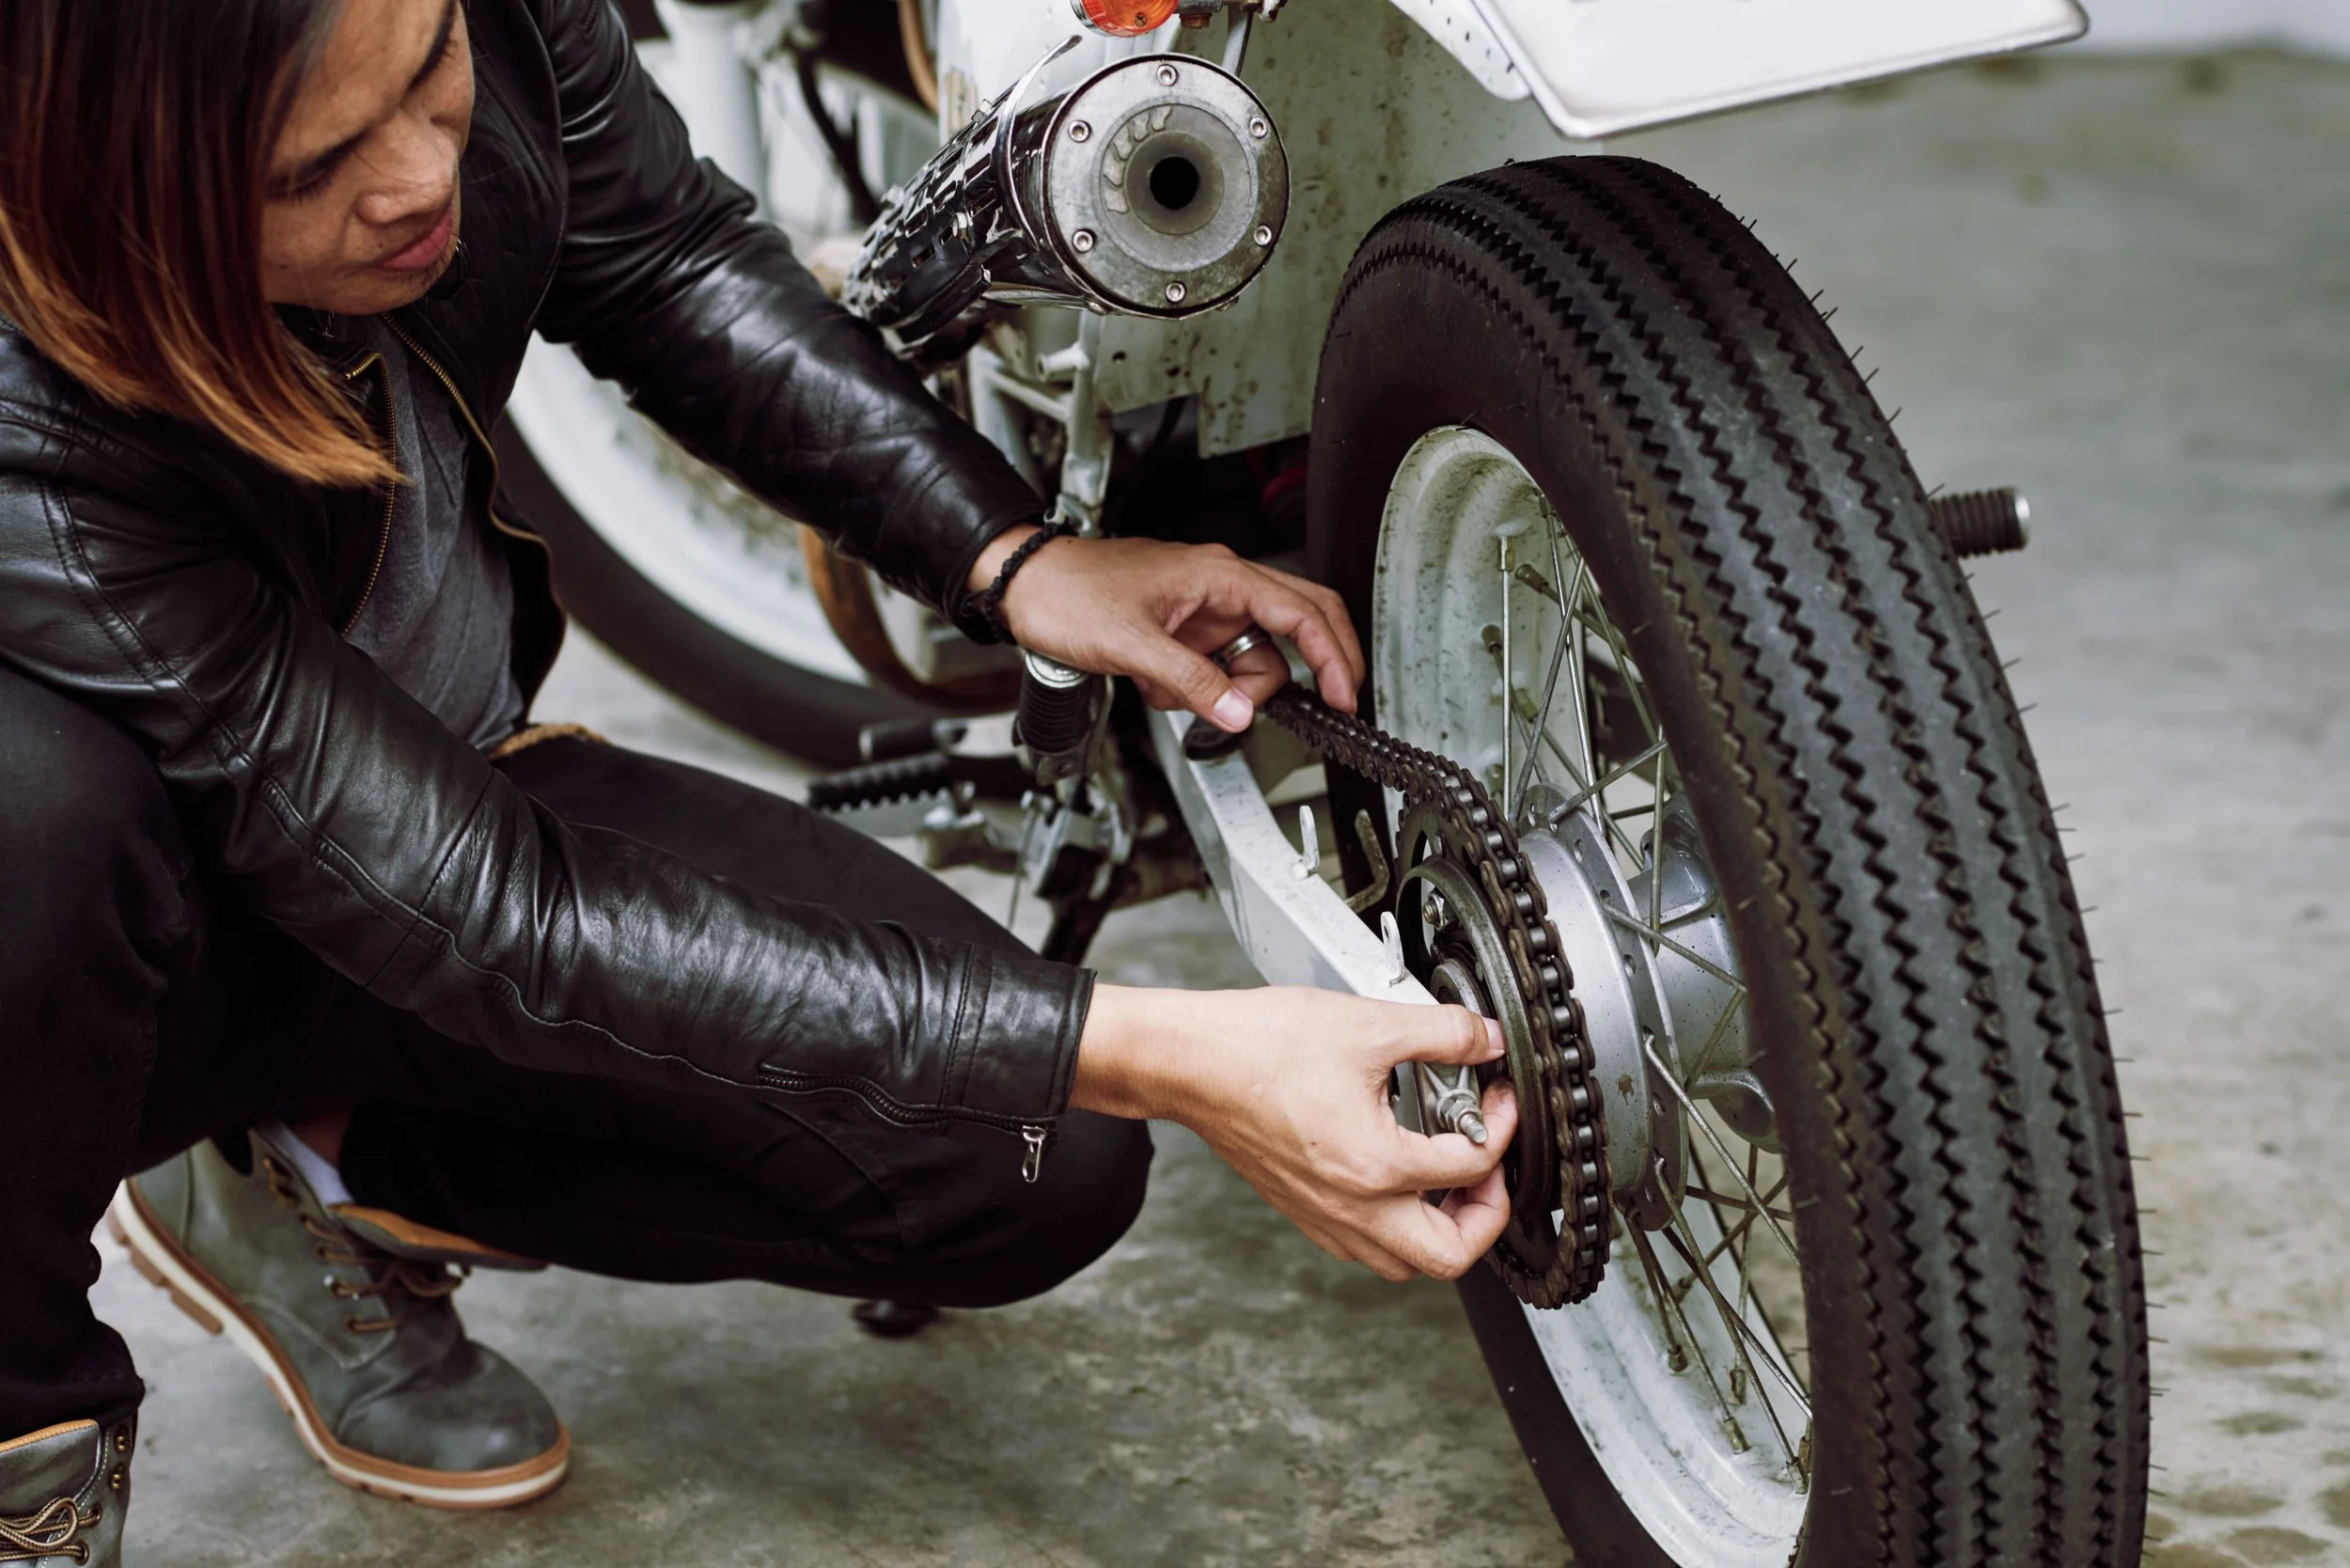
Keeping it Moving: Drive System Maintenance (Chain, Belt, or Shaft)
How your engine's power gets to the rear wheel depends on your motorcycle's drive system. Each type requires specific maintenance.
Chain Drive: Regularly inspect your chain for proper tension, lubrication, and wear. Clean and lubricate your chain every few hundred miles or after riding in wet conditions. Check for stiff links or excessive rust. Adjust chain tension according to your owner's manual.
Belt Drive: Inspect your belt for cracks, fraying, or missing teeth. Ensure proper tension according to your owner's manual. Belt drives generally require less maintenance than chains but still need periodic inspection.
Shaft Drive: While shaft drives are the lowest maintenance option, still check for any leaks from the final drive unit and ensure proper fluid levels according to your owner's manual.
Aftermarket Accessories: Specific Care and Checks
One of the defining features of a custom motorcycle is the array of aftermarket accessories. Each of these might have its own specific maintenance requirements.
Exhaust Systems: Check for leaks at the joints and ensure all mounting hardware is secure. Inspect for any damage or corrosion. Some aftermarket exhausts might require periodic repacking of the silencer.
Intake Systems: Check air filters regularly and clean or replace them as needed. Ensure all connections are tight.
Lighting: Ensure all lights (headlights, taillights, signals) are functioning correctly. Check for loose connections or damage.
Handlebars and Controls: Ensure all controls (levers, switches) operate smoothly. Check that handlebars are securely mounted and that grips are in good condition.
Suspension Components: Inspect for leaks or damage. Some aftermarket suspension components might require periodic servicing or adjustments.
Keeping the Spark Alive: Electrical System Checks

A healthy electrical system is the backbone of a reliable ride. From starting your engine to powering your lights and accessories (maybe even some cool custom LED lighting from Kinetic Motorcycles!), ensuring everything is wired correctly and functioning properly is crucial, especially on a custom build where modifications to the electrical system are common.
Battery Basics: Inspection and Maintenance
Your battery is the heart of your electrical system. Proper care will ensure reliable starts and prevent unexpected breakdowns.
Check Terminals: Regularly inspect your battery terminals for corrosion (that white or bluish powdery buildup). Clean any corrosion with a wire brush and apply a terminal protectant spray. Ensure the connections are tight.
Check Electrolyte Level (if applicable): If you have a non-sealed battery, check the electrolyte level and top it off with distilled water if necessary.
Test Battery Voltage: A multimeter is your friend here. Check the battery voltage when the motorcycle is off and while it's running to ensure it's within the manufacturer's recommended range. A weak battery can cause starting problems and strain other electrical components.
Consider a Battery Tender: If you don't ride your motorcycle regularly, using a battery tender can prevent the battery from discharging and prolong its life.
Wiring Wisdom: Inspecting Connections and Harnesses
Custom builds often involve modifications to the wiring harness to accommodate new lights, accessories, and other electrical components. It's essential to ensure these connections are secure and protected.
Visual Inspection: Regularly inspect your wiring harness for any signs of damage, chafing, or loose connections. Pay close attention to areas where wires might rub against the frame or other components.
Secure Connections: Ensure all electrical connectors are properly seated and secured. Loose connections can cause intermittent problems and even short circuits.
Protect Wiring: Make sure any exposed wiring is properly insulated and protected from the elements and abrasion. You might need to use electrical tape or wire loom in certain areas.
Lighting and Signals: Ensuring Visibility and Safety
Properly functioning lights and signals are crucial for your safety on the road, and they're often customized on custom motorcycles.
Check All Lights: Before each ride, ensure your headlight, taillight, brake light, and turn signals are working correctly. If you've installed aftermarket lighting, make sure they are properly wired and functioning as intended.
Inspect Lenses: Check the lenses of your lights for any cracks or damage that could impair their visibility.
Test Switches: Ensure all your electrical switches (ignition, lights, signals) operate smoothly and reliably.
The Final Touches: Your Pre-Ride and Regular Checks Checklist
Alright, you've gone deep into the individual systems. Now let's bring it all together with a handy checklist of things you should inspect regularly – both before you hit the road and as part of your ongoing maintenance routine.
Your Pre-Ride Ritual: Quick Checks Before Every Blast
Tires: Pressure and visual inspection.
Lights and Signals: Functionality.
Fluid Levels: Quick glance at oil, brake fluid, and coolant.
Brakes: Lever and pedal feel.
Throttle and Clutch Cables: Smooth operation and proper free play.
Mirrors: Clean and properly adjusted.
Kickstand/Jiffy Stand: Secure operation.
Your Regular Maintenance Schedule: Beyond the Pre-Ride
Engine Oil and Filter: Change according to the manufacturer's recommendations or more frequently if you ride hard.
Coolant: Check level and condition regularly; flush and replace as recommended.
Brake Fluid: Check level and condition regularly; bleed as needed and replace every two years.
Drive System (Chain/Belt/Shaft): Inspect, lubricate/adjust (if applicable) regularly.
Air Filter: Clean or replace as needed.
Spark Plugs: Inspect and replace according to the service schedule.
Battery Terminals: Clean and protect regularly.
Overall Visual Inspection: Regularly look for any leaks, loose parts, or signs of wear and tear on all components, including those cool Kinetic Motorcycles accessories you've added.
Conclusion
Let's be real, owning a custom motorcycle is more than just a hobby; it's a lifestyle. It's about the thrill of the ride, the pride in your unique machine, and the connection you feel with the open road. By embracing DIY maintenance, you're not just saving money; you're forging a deeper bond with your motorcycle and ensuring that every ride is as exhilarating and trouble-free as the last.
This ultimate DIY maintenance checklist isn't about becoming a master mechanic overnight. It's about empowering you with the knowledge and practical steps to keep your custom ride roaring. From the essential fluid checks to the meticulous care of your custom aesthetics and the inspection of crucial mechanical and electrical components, every task you tackle yourself contributes to the longevity, performance, and overall enjoyment of your motorcycle.
Remember, your custom motorcycle is a reflection of your individuality. By investing a little time and effort in regular DIY maintenance, you're not just keeping it running; you're preserving a piece of yourself and ensuring that your unique ride continues to turn heads and deliver unforgettable adventures for years to come. And who knows, you might even discover a newfound satisfaction in the process – the quiet pride of knowing you're keeping your machine in prime condition with your own two hands.
What are your go-to DIY maintenance tips for your custom motorcycle? Do you have any questions or favorite products you swear by? Share your wisdom and experiences in the comments below – let's build a community of knowledgeable and hands-on custom motorcycle enthusiasts!
Keep wrenching, keep riding, and keep that custom ride roaring!